How to Use IF Statements in Google Sheets

Google Sheets is a powerful tool for data analysis and automation, and one of its most useful features is the ability to use logical functions like IF statements. These statements allow you to create dynamic calculations and perform conditional formatting based on specific criteria. In this comprehensive guide, we will delve into the world of IF statements, exploring their syntax, various applications, and real-world examples to help you master this essential tool.
Understanding the IF Statement Syntax

An IF statement in Google Sheets follows a simple structure: =IF(logical_test, value_if_true, value_if_false). Here’s a breakdown of each component:
- logical_test: This is the condition or expression that evaluates to TRUE or FALSE. It can be a comparison, a formula, or a reference to a cell containing a value.
- value_if_true: The value or action to be performed if the logical_test evaluates to TRUE. It can be a number, a text string, a cell reference, or another formula.
- value_if_false: The value or action to be performed if the logical_test evaluates to FALSE. Like value_if_true, it can be any valid value or formula.
For example, let's say you have a spreadsheet with a column of sales data, and you want to apply a discount of 10% if the sales amount exceeds $500. You can use the following IF statement:
=IF(B2 > 500, B2 * 0.9, B2)
In this example, B2 refers to the cell containing the sales amount. The formula checks if the value in B2 is greater than $500. If it is, the formula calculates 90% of the value (applying the discount) and returns that result. If not, it simply returns the original value.
Nesting IF Statements

One of the powerful features of IF statements is the ability to nest them, which means placing one IF statement inside another. This allows you to evaluate multiple conditions and provide more complex results. Nesting is particularly useful when you have a series of conditions to consider.
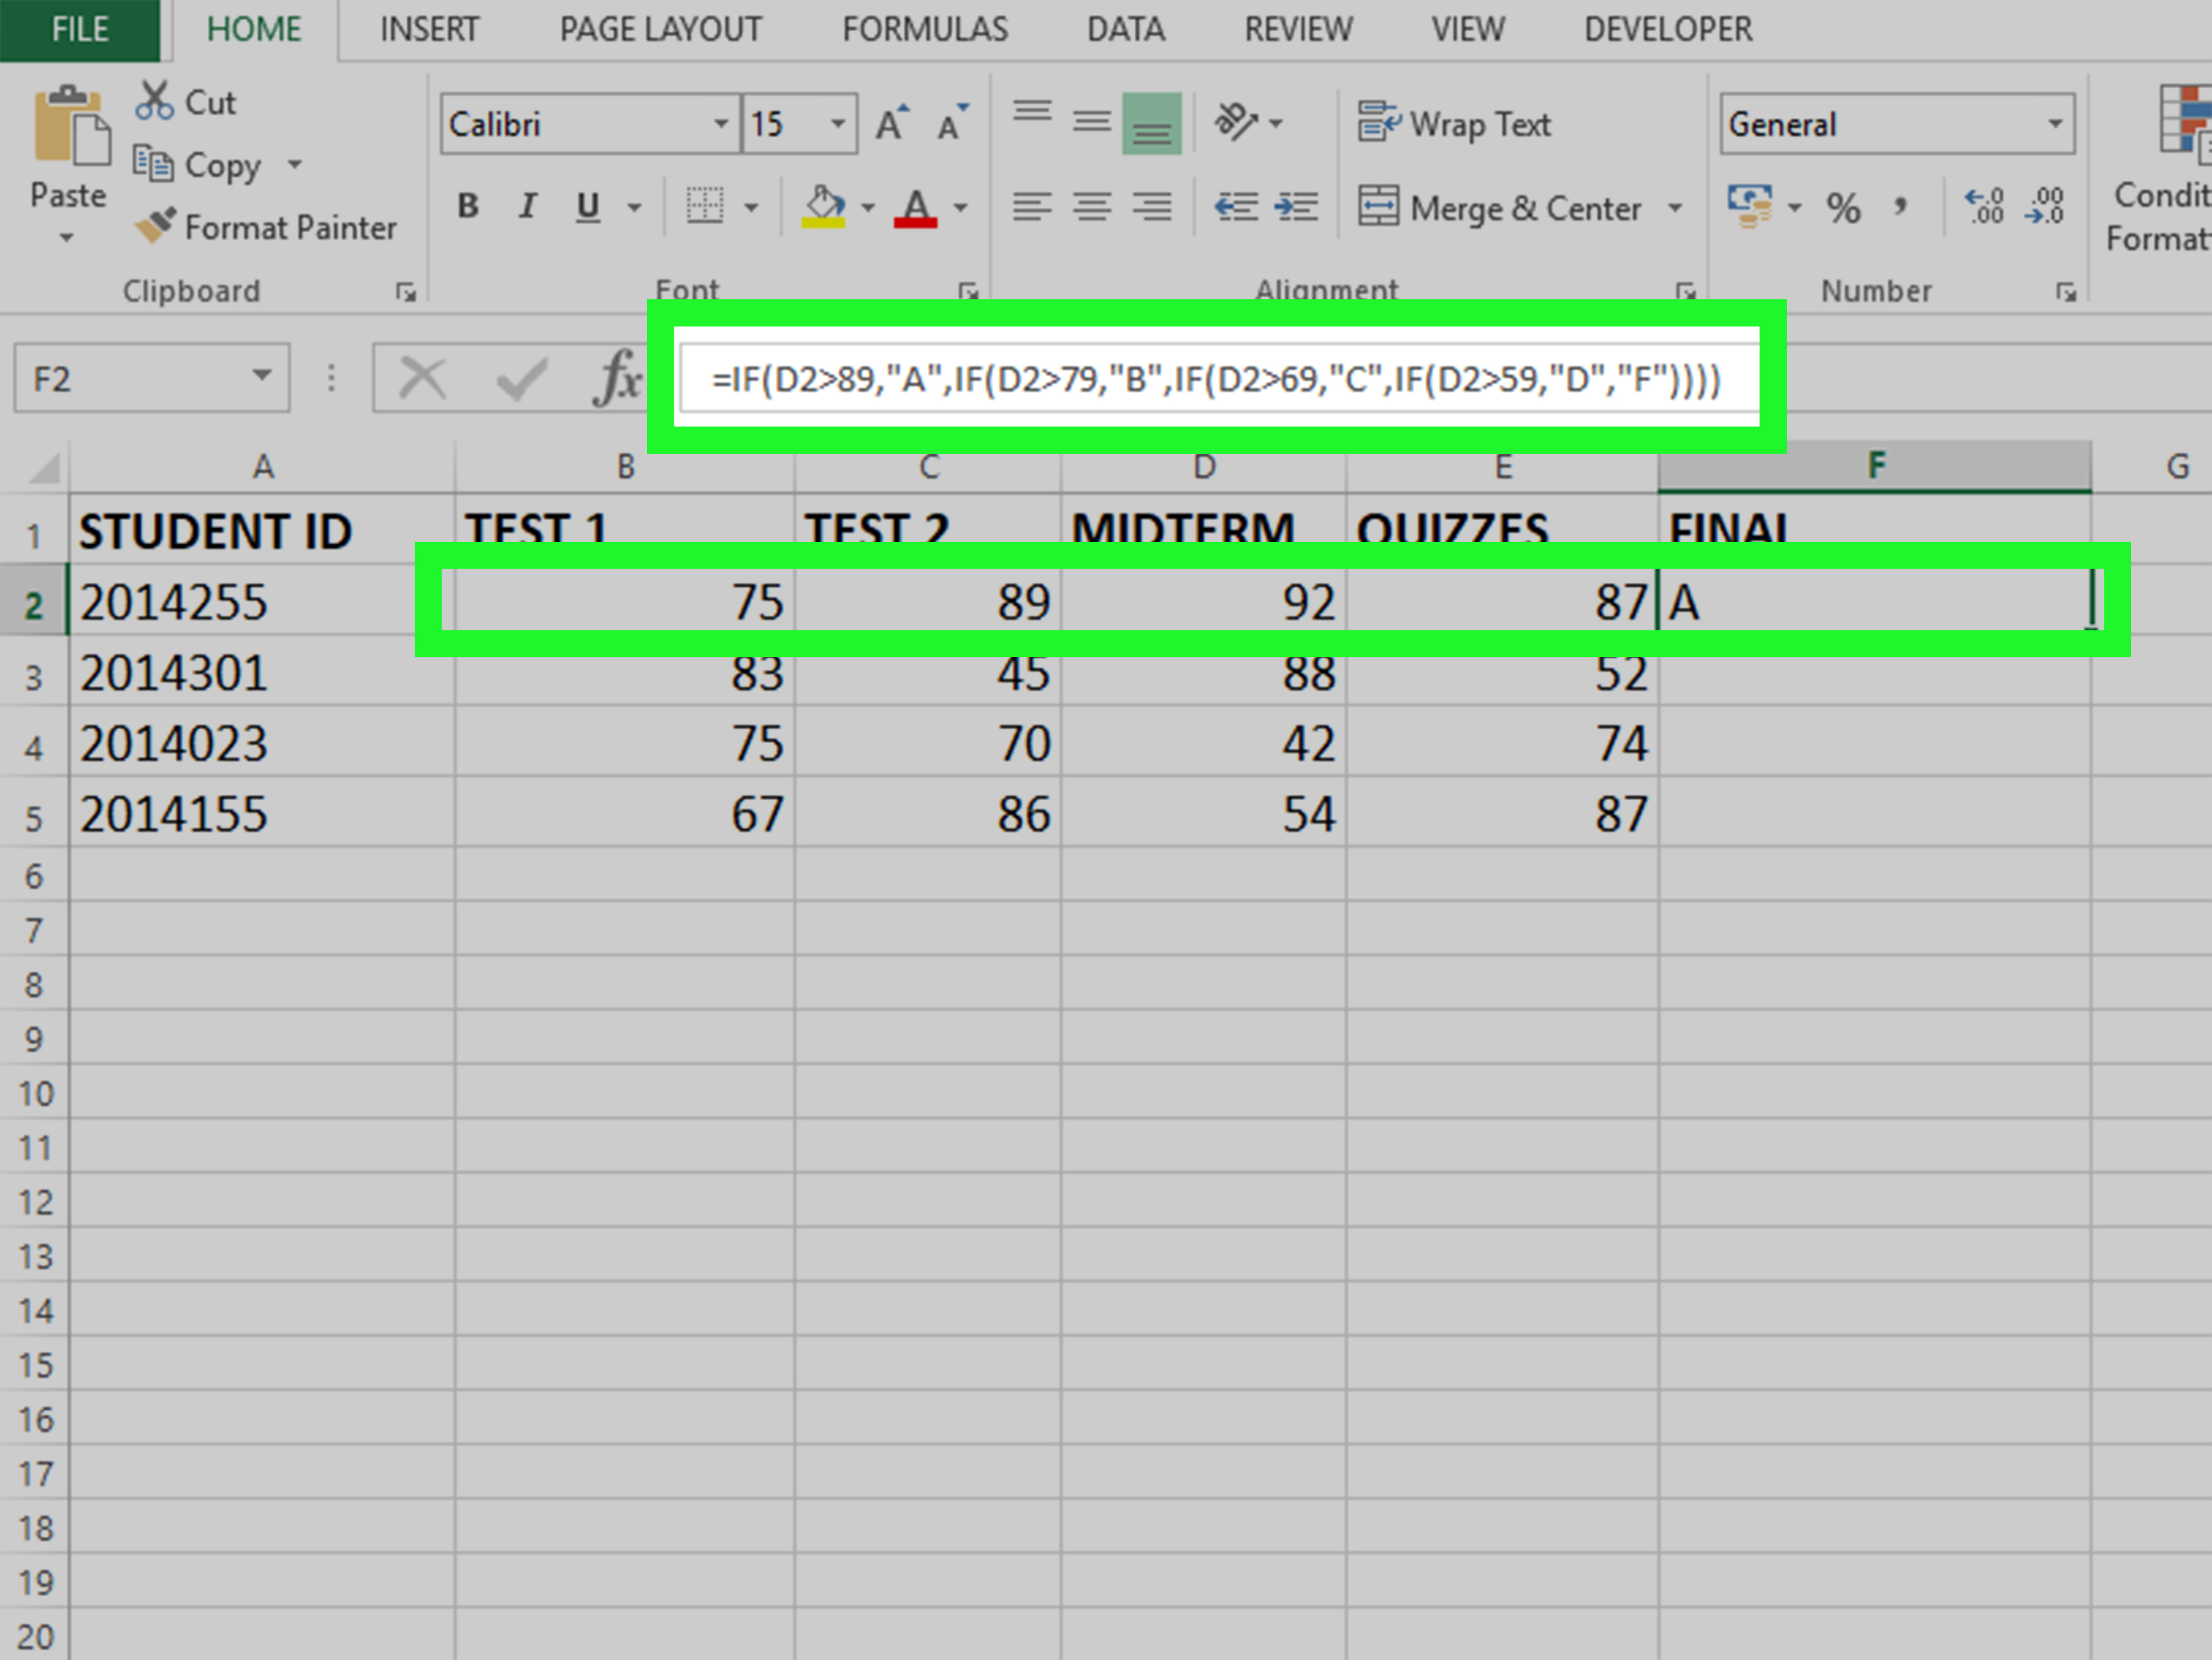
For instance, let's expand on our previous example. Imagine you have different discount rates based on sales amounts: 10% for sales over $500, 15% for sales over $1000, and 20% for sales over $2000. You can use nested IF statements to handle these conditions:
=IF(B2 > 2000, B2 * 0.8, IF(B2 > 1000, B2 * 0.85, IF(B2 > 500, B2 * 0.9, B2)))
In this formula, each nested IF statement checks a specific condition and applies the corresponding discount. The innermost IF statement checks if the sales amount is over $500. If true, it calculates the discounted value; otherwise, it returns the original value. The next IF statement checks if the sales amount is over $1000, and so on.
Handling Errors with IFERROR
Sometimes, you may encounter errors in your spreadsheet, such as division by zero or references to non-existent cells. To gracefully handle these situations, you can use the IFERROR function along with IF statements.
The IFERROR function has the following syntax: =IFERROR(value, value_if_error). It allows you to specify an alternative value to be returned if an error occurs in the value parameter.
For example, let's say you have a formula that divides a value by another cell, and you want to display "N/A" if the divisor is zero to avoid a division by zero error. You can use the following IFERROR statement:
=IFERROR(B2/C2, "N/A")
If the value in C2 is zero, the formula will return "N/A" instead of an error message.
Using IF Statements for Conditional Formatting
IF statements are not limited to just calculations; they can also be used for conditional formatting, which allows you to format cells based on specific conditions. This is a powerful way to visualize data and highlight important information.
To apply conditional formatting using IF statements, follow these steps:
- Select the range of cells you want to format.
- Go to the Format menu and choose Conditional formatting.
- In the Format rules section, select Custom formula is from the drop-down menu.
- Enter your IF statement in the formula field. For example,
=IF(B2 > 100, TRUE, FALSE)will format the cell if the value inB2is greater than 100. - Choose the desired formatting options, such as font color, cell background color, or borders.
- Click Done to apply the conditional formatting.
Advanced IF Statement Techniques

Beyond the basic IF statement, Google Sheets offers several advanced techniques to enhance your automation capabilities.
IFERROR with Custom Messages
You can customize the error message returned by the IFERROR function to provide more context. For example, if you want to display a specific error message when a formula encounters an error, you can use the following syntax:
=IFERROR(B2/C2, "Error: Division by zero is not allowed."
Using Logical Operators
Google Sheets supports logical operators like AND and OR, which can be used within IF statements to evaluate multiple conditions.
The AND operator returns TRUE if all conditions are met, while the OR operator returns TRUE if at least one condition is met. For example:
=IF(AND(B2 > 100, C2 < 50), "Both conditions are true", "One or both conditions are false")
Array Formulas with IF
Array formulas allow you to perform calculations on entire arrays or ranges of data. When combined with IF statements, they can be incredibly powerful for data analysis.
To use an array formula, enter your formula normally, but instead of pressing Enter, press Ctrl + Shift + Enter (or Cmd + Shift + Enter on Mac). This will enclose your formula in curly braces, indicating that it's an array formula.
For example, let's say you have a range of sales data in column B, and you want to count the number of sales that meet a certain condition. You can use the following array formula:
=SUM(IF(B2:B100 > 500, 1, 0))
This formula counts the number of sales over $500 in the range B2:B100.
Best Practices and Tips
When working with IF statements, keep these best practices in mind to ensure efficient and error-free formulas:
- Use parentheses
()to clearly define the scope of each function and logical test. - Avoid using nested IF statements excessively. Consider using helper columns or lookup functions like VLOOKUP or INDEX-MATCH for more complex conditions.
- Take advantage of the AutoFill feature in Google Sheets to quickly replicate formulas across rows or columns.
- Regularly review and audit your formulas to ensure they are accurate and efficient.
Conclusion
IF statements are a cornerstone of spreadsheet automation, allowing you to create dynamic and interactive spreadsheets. By understanding their syntax, nesting capabilities, and advanced techniques, you can unlock the full potential of Google Sheets for data analysis and decision-making.
Can I use IF statements to create drop-down lists in Google Sheets?
+
Yes, you can use IF statements in combination with the DATA VALIDATION feature to create dynamic drop-down lists. This allows you to control the options available based on certain conditions.
How can I handle multiple conditions without nesting IF statements?
+
You can use the IFS function, which allows you to evaluate multiple conditions and provide corresponding values. This function simplifies complex IF statements and improves readability.
Are there any limitations to the number of nested IF statements I can use?
+
Google Sheets imposes a limit of 512 nested functions, including IF statements. While this is a high threshold, it’s best to avoid excessive nesting for performance and readability reasons.


